How to Set Up a POS System: A Step by Step Guide to Getting Point of Sale Software Up and Running

As a retailer, your point of sale (POS) system is arguably the most important tool that you have. Your POS system makes ringing up sales possible, allowing you to complete the checkout process with ease.
In many cases, your POS software also serves as the retail management platform on which to run your entire business. This means the right solution doesn’t just ring up sales; it tracks your inventory, generates valuable retail analytics, and helps you take care of your customers.
To that end, it’s incredibly important to not only find the right POS solution, you also need to set it up for success.
This post walks you through exactly how you can do just that.
- Find the right retail solution provider
- Determine the store setup you’d like to have
- Decide who will set up your POS
- Have a POS expert set everything up for you
- How to set up a POS system: the steps involved in the process
Before anything else, find the right retail solution provider
Consider this as “step zero” of the point of sale setup process. Before getting into the specific steps or technical details, see to it that you have a solid POS/retail management system picked out. Do your research and weigh your options to make sure that the solution is a good fit for your business. The right retail software and hardware will make the setup process much easier.
We won’t dive into too much detail about the POS buying process, but if you need a thorough resource, check out our POS Buyer’s Guide, which discusses how to:
- Define the needs of your business
- Select the best hardware
- Budget for your POS system
- Evaluate various solutions side-by-side
Already have a POS system that you like? Great! Take a look at the setup process below.
Determine the store set up you’d like to have
The steps you need to take to get your POS system up and running depends on your store’s setup and processes. Ask yourself the following questions:
- What devices will you need to ring up sales? (e.g., computers, tablets etc.)
- How many registers do you need?
- What types of payments will you accept?
Answering the above will help you prepare the materials and equipment you need which will make things easier for you and the people who will set up your POS system.
And this brings us to our next point…
Decide who will set up your POS
There are a number of ways to go about the setup procedures of your point of sale system. You can:
Go the DIY route
If you have a simple store setup (e.g., all you need is an iPad), then you can likely get your POS system to function all on your own. Simple retail workflows typically involve launching or installing your POS software (which takes a few clicks) and entering your business details.
To make this process smoother, consider looking up video tutorials, help articles and documentation from your provider. If your POS vendor offers free tech support, hop on a call with their team and consult with them to determine how to best set up your point of sale system.
The “do it yourself” route is recommended for single-store retailers who have short and straightforward workflows.
Get help from your POS vendor
If your retail operations are slightly more complex or if you’re running multiple stores with large product catalogs, it’s a good idea to seek assistance from your POS vendor. Most solution providers offer onboarding services to get retailers up and running much quicker.
These services can include things like:
- Training your team
- Uploading your products
- Migrating your store data
- Configuring your settings
- Integrating the solution with other apps
Many of these things are done remotely, and your POS provider acts as a highly involved sidekick who walks you through the process.
Have a POS expert set everything up for you
If you need someone to do the setup for you and your team, you can hire a retail tech expert to come into your store and install your hardware and software. Think of this option as the Cadillac of POS system setups: it’s a hands-off experience where the experts will do all of the heavy lifting and train you and your team on how to use the system
This option is ideal for large retailers or those who have complicated workflows, special technology needs, or big teams.
Regardless of which option you choose, it always helps to have some general knowledge of the point of sale setup process. Which is why in the following section, we’ll dive into the different steps retailers need to take to get a POS system up and running.
How to set up a POS system: the steps involved in the process
1. Launch the software and log in
The first thing you need to do is to run the software. With web-based POS software like Lightspeed, there’s no installation required; you just need to be using a computer with internet access. Simply launch your browser and go to your store’s URL. If you’re using an iPad, you’ll download and install the application to your device.
From there, you’ll need to login and configure your account. This step typically includes entering your business details such as your store name, where you’re located, how many outlets you have, etc.
Most POS software will have prompts or walk-throughs to guide you through the setup process. Prepare the info you need, then follow the instructions.
2. Enter or upload your products

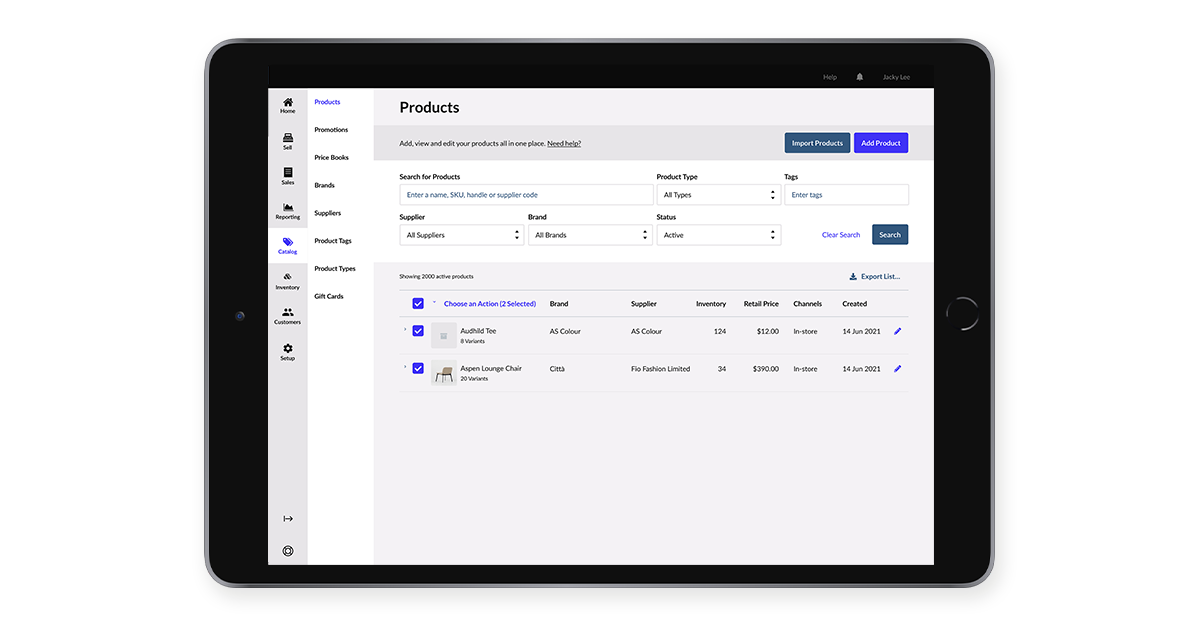
Once you’ve launched the app and established your account, you’ll need to set up your inventory. If you only have a few items to sell, you can enter them manually into the system. If you have a large catalog, then you can upload your inventory info in bulk. Most modern POS systems will allow you to do this using a CSV product list, that contains the following fields:
- Product name
- SKU
- Supply price
- Retail price
- Variant details (if the product comes in different sizes or colors)
- Product description
- Product category
- Brand name
- Supplier name
- Quantity
- Reorder point
3. Set up your user accounts
Now let’s talk about the different users of your POS system.
A point of sale typically allows you to set up accounts or profiles for your team members who would be operating the system. They include:
- Admins
- Managers
- Cashiers
Depending on your system, you may also have the option to set user permission levels, which enable or restrict users from accessing certain features or information. For example, while administrators may have full control over the software, cashiers would only have access to the sell screen.
Go over the different roles in your business and set up your users accordingly.
4. Set up your hardware
The equipment that you need varies depending on your store set up. Some retailers require several devices, including payment terminals, cash drawers, barcode scanners and receipt printers. For others, having an iPad and a payment terminal is enough.
The exact steps for setting up your retail equipment depends on the specific device, so consult with your provider to figure out the right way to go.
Generally speaking though, setting up equipment like payment terminals involves:
- Switching on the device
- Connecting it to your WiFi network
- Pairing it to your POS system
5. Set up your payments
Once your payment equipment is connected to your POS system, you’ll need to configure your software’s setting so it recognizes your payment processor. Once again, the specifics will vary depending on payment provider, so consult with your POS or merchant services vendor to figure out what steps to take.
If your POS system integrates with your payment processor, this process should be fairly simple, and typically involves going into your POS systems’s settings and adding the right payment types.
Choosing embedded payments (like Lightspeed Payments) is almost always more beneficial for retailers. It ensures that transaction data smoothly flows from your card terminal to your POS system, which reduces manual entry and human error.
6. Connect your POS with other business apps
One of the best ways to get the most out of your POS system is to integrate it with the apps that you’re already using. Your retail business will function better if the applications that you’re using are all “talking” to each other.
Depending on your retail POS software, you may be able to integrate it with your:
- Ecommerce platform
- Accounting software
- Marketing automation solution
- Loyalty program
- ERP
- Employee management app
Check with your provider to learn about the different apps that you can connect to the system and how to do it.
Bringing it all together
The answer to the question of how to set up a POS system will vary, depending on the retailer. The steps and time it takes to get your system up and running will depend on the size of your business, the complexity of your operations, and how tech-savvy you are.
In any case, the best way to figure out how to do it for your business is to evaluate your requirements and work with your POS provider to determine the right course of action.
Need help selecting and setting up your POS system? Choose Lightspeed. Our one-stop commerce platform has everything you need to thrive in today’s modern retail landscape. Plus with onboarding services and free 24/7 support, you can be sure that we’ll have your back throughout the POS setup process and beyond.

News you care about. Tips you can use.
Everything your business needs to grow, delivered straight to your inbox.


